Perfect Corn On The Cob
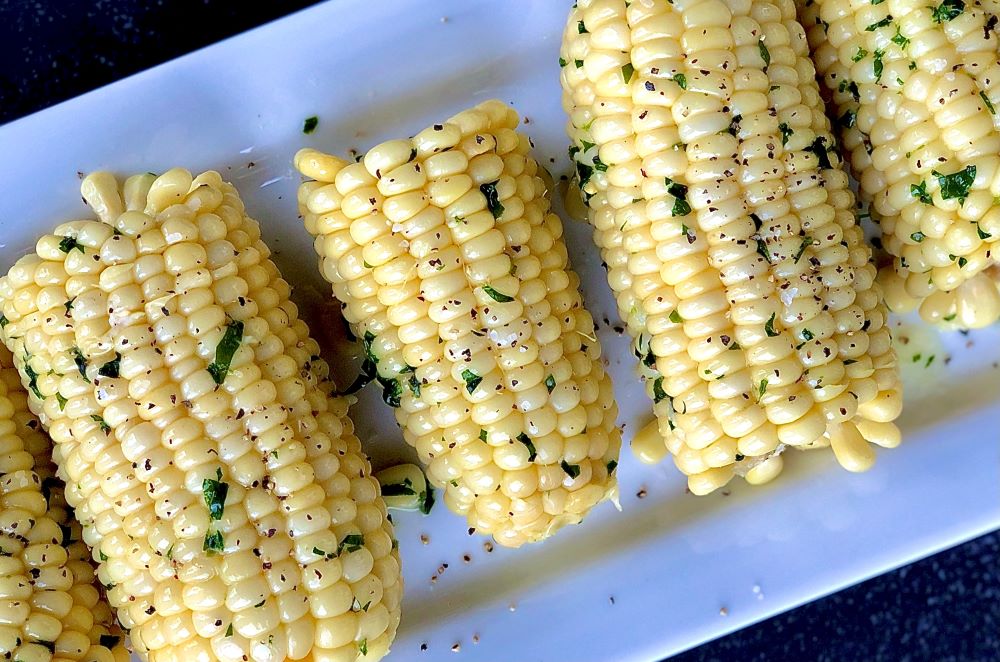
No more mushy over cooked corn with my easy fool proof cooking method. This Perfect Corn On The Cob is simple and fast and lends crisp tender kernels every time.
Jump to Recipe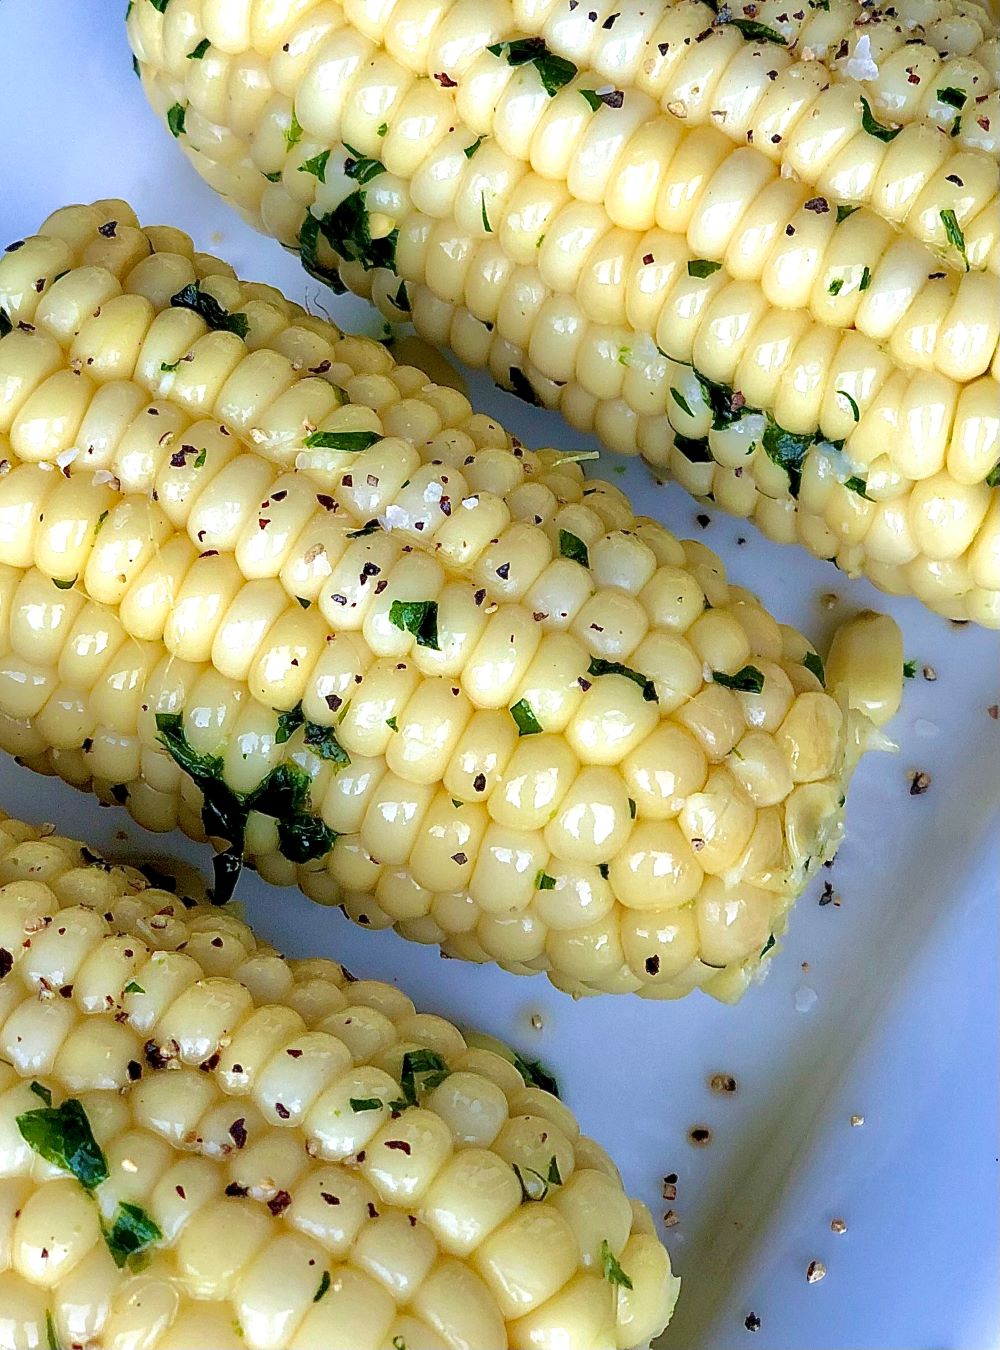
Corn On The Cob was a vegetable I grew up eating every summer. I was lucky enough to have a mom that cooked it perfectly using the boiling method so the kernels were crisp and juicy. She would set out a stick of butter for us to roll our cobs through and season a little with salt and pepper; it was the absolute best!
There are many ways to cook Corn On The Cob but my favorite is how my mom did it. A quick bath of boiling water. This method is so easy, and as long as you follow my simple steps, you’ll have Perfect Corn On The Cob, always. It’s also important to note that the fresher the corn, the better it will turn out. That’s why summer corn is so darn good!
Choosing The Right Corn:
- Fresh is best and if you happen to live in an area with a bounty of local farm stands, you’re golden. Pre-packaged store-prepared corn is a good alternative if you can’t get it locally.
- Corn with brighter green husks that are still intact will likely be fresher.
- Peel back the top of the husk to check the first couple of inches of the corn. You’ll notice right away whether or not the cob is healthy and the kernels look plump and juicy.
How To Keep Corn Fresh Until Ready To Use:
- Shuck corn and remove all corn silk (hair) and rinse thoroughly.
- Pat dry the cobs with a paper towel and place in a sealed airtight bag.
- Refrigerate for no more than 2-3 days before cooking.
How To Boil Corn On The Cob:
- Fill a large stock pot with water, leaving room for the water to rise after adding the corn.
- Bring water to a boil.
- Drop halved or whole corn in the boiling water.
- Bring the water back to a boil and start timing 2 minutes.
- After the 2 minutes drain off water, add melted butter (if desired) and place lid back on until ready to eat. Corn should be eaten within 10-15 minutes at this point so it’s still nice and warm when consumed.
Tips:
- Corn should never be left in the hot water after it’s finished cooking. This will continue to cook the corn resulting in over-cooked, mushy kernels.
- No need to add salt and vinegar to the pot of water. Contrary to popular belief, vinegar is used to tenderize the corn and the salt is meant to bring out the flavor. When corn is cooked perfectly it’s always tender. And because we add salt over our buttered corn, we don’t need the extra salt in the water. Yikes! I sound like a corn snob. 😬
Seasonings and Fresh Herbs:
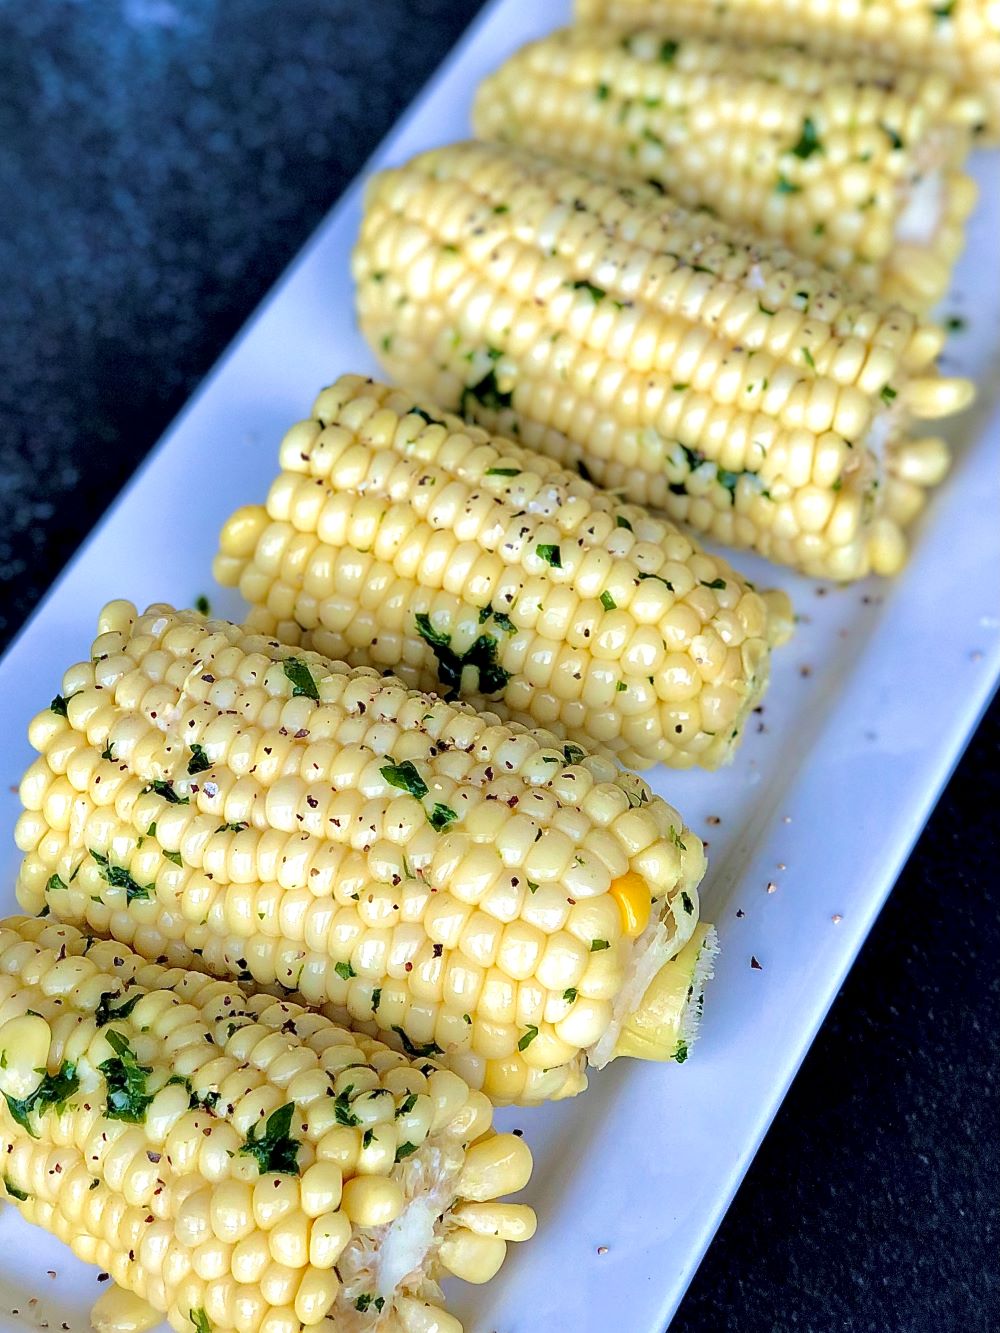
- Fresh herbs are wonderful on corn; parsley, basil, chives and tarragon are just a few of the many herbs that add wonderful flavor to the corn. Add herbs straight to the pot with the buttered corn or sprinkle on just before serving.
- Parmesan cheese and cayenne pepper are one of my favorites. I like to use grated parmesan as it tends to coat the corn better. I like to add the cheese and cayenne after I’ve plated the corn. The bits of fresh cheese with every bite is amazing!
Enjoy!
Other Corn Recipes You Might Enjoy:
⭐Make Sure To Rate The Recipe When You Make It!⭐
Let’s eat!🤍
Perfect Corn On The Cob
Ingredients
- 4 fresh ears of corn, shucked and rinsed under cold water
- melted butter optional
- kosher or sea salt and black pepper optional
Additional toppings
- fresh herbs – chopped parsley, basil, chives and tarragon all work well with corn
- grated parmesan cheese and cayenne pepper
Instructions
- Fill a large stock pot with water, leaving room for the water to rise after adding the corn.
- Bring water to a boil.
- Drop halved or whole corn in the boiling water.
- Bring the water back to a boil and start timing 2 minutes.
- After the 2 minutes drain off water, add melted butter, and place lid back on until ready to eat. Corn should be eaten within 10-15 minutes at this point so it's still nice and warm when consumed.
- Add additional toppings if desired. See notes below.
Notes
- Shuck corn and remove all corn silk (hair) and rinse thoroughly.
- Pat dry the cobs with a paper towel and place in a sealed airtight bag.
- Refrigerate for no more than 2-3 days before cooking.

A few of my favorite kitchen essentials and recommendations for this recipe.


